Tuesday, May 31, 2011

{officially 3}

And officially addicted to Thomas the Train.

Enjoying their morning juice and a Thomas fix yesterday morning...


Love these boys.

Sunday, May 29, 2011

{Despicable Three!}

Birthday hangover.

We have it.

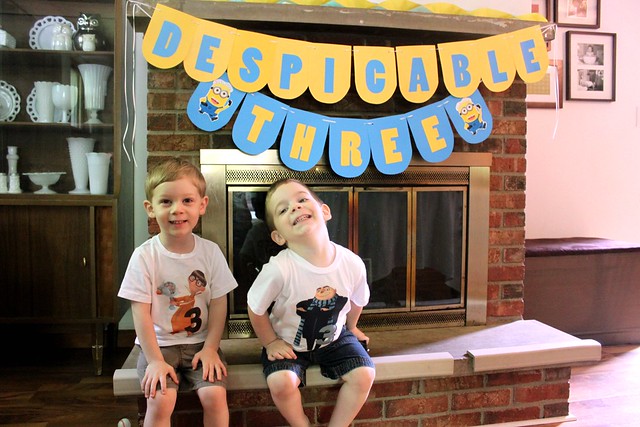
The boys had their "Despicable Three!" birthday party yesterday and we had lots of family over to help us celebrate.

Wow...three years as parents of twins. Amazing how far we've come.

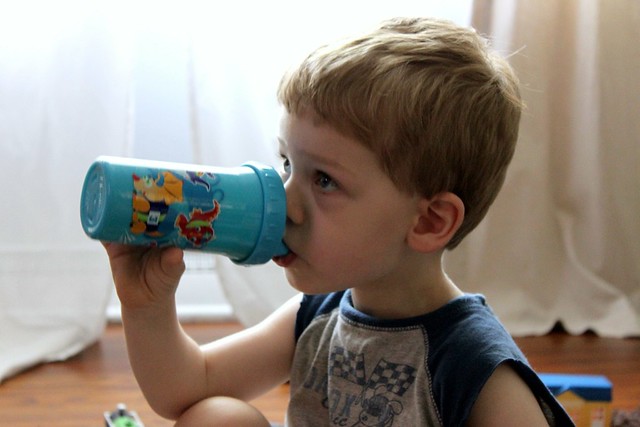
From these little guys...


To these handsome little boys...


But now for the birthday fun! The boys have loved 
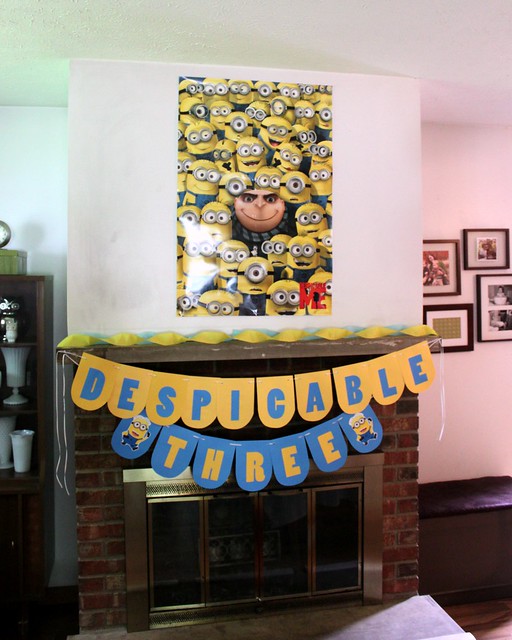
Despicable Me for awhile now, so that was the theme I picked for their party. With a tight budget, I had to get creative with the decorations and the cake, and I have to say that I'm really proud of how it turned out. It is super hard to find Despicable Me party stuff, so most of the items were DIY. I did find a great poster on Amazon for $5 to go over the fireplace...


And I made the banner with simple cardstock and images I found online.


Our fireplace is in need of a major makeover so it was nice to give it some life with the banner and streamers.

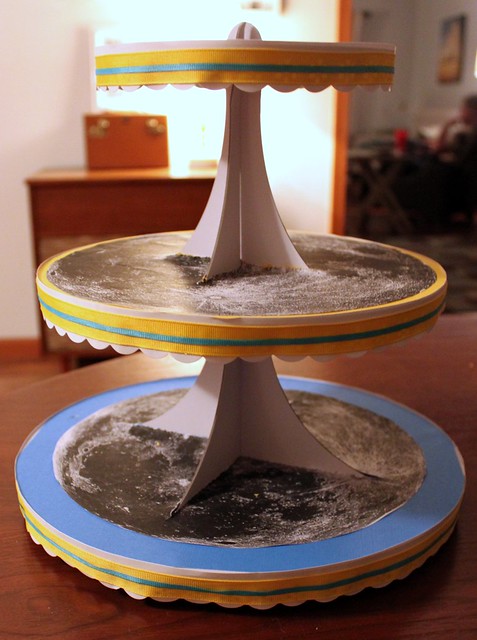
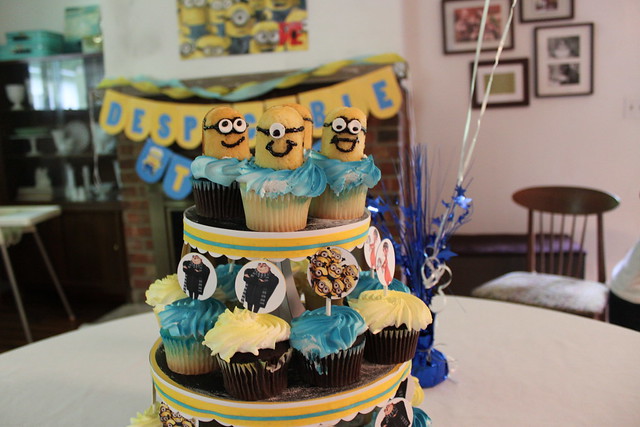
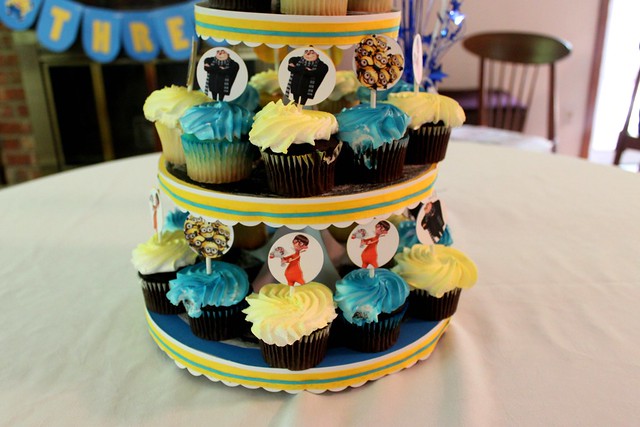
What I was most excited about was their cupcake stand and the cupcakes themselves. I DIY'd the stand using a Martha Stewart cupcake stand kit from Joann Fabric...


I enlarged a moon image I found online for each tier, and added some cardstock I had left over from the banner to fill in the gaps. I also covered the {a bit too girly} scalloped border with ribbon to boy it up a little, and to add some color. This project was a little time intensive but totally worth it.


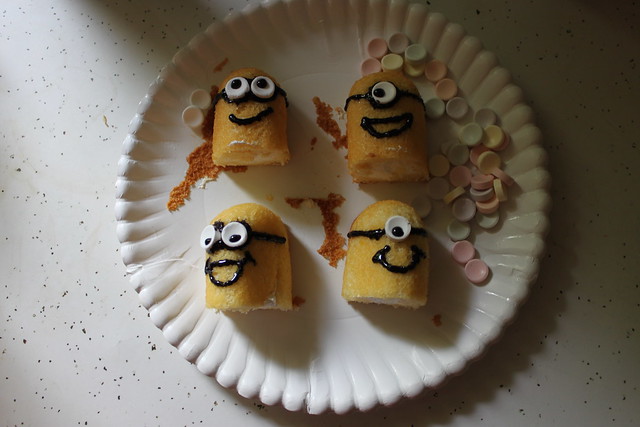
And now for the cupcakes! I created toppers for them with images from the movie...Mr. Gru, Vector, the girls, and of course, the minions. And for the top I made four minion cupcakes using twinkies {thanks to an awesome photo/tutorial I found online}.

Here are the minions in progress...the eyes are white smarties :)


And here they are on the cupcakes!

They turned out so darn cute...

The guy on the far left was my favorite. And here is a better look at the toppers...

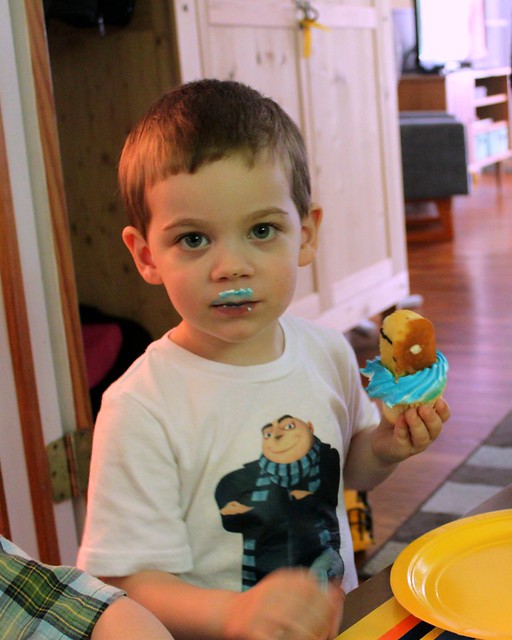
The boys enjoyed them...

{just a little tip...that blue icing STAINS like crazy! I had blue fingers all day. :) }

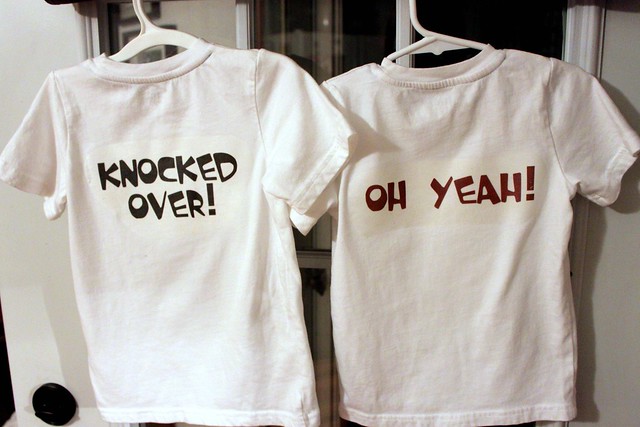
And if you didn't already notice, the boys also sported custom t-shirts for the big shindig. So far for each birthday I have made them shirts and it is a fun tradition I would like to continue...as long as they think it is cool anyway. :)
The fronts of the shirts...


And the backs {with popular lines from the movie}...

I created the images with clip art and Adobe Photoshop Elements, and used iron-on transfer paper. Easy peasy!

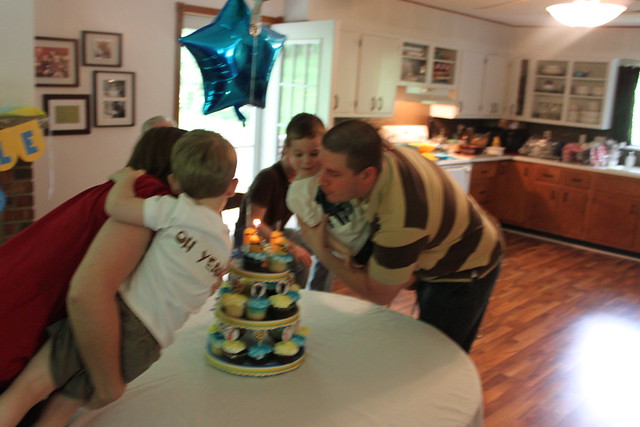
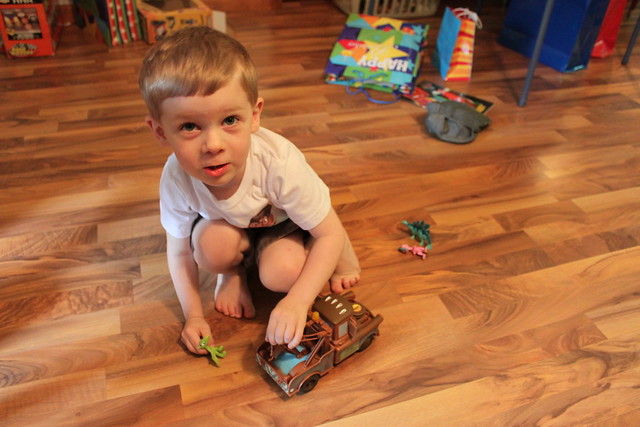
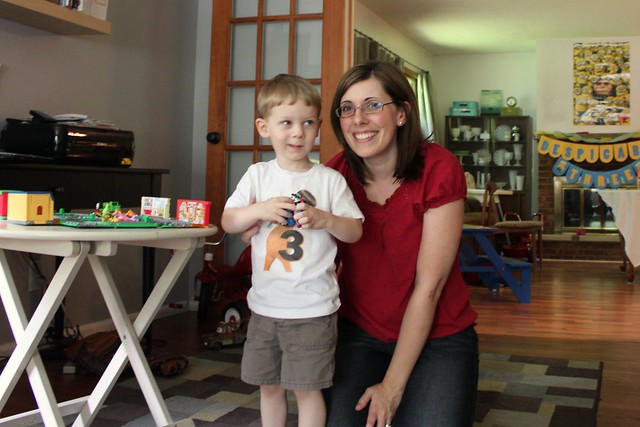
And just for fun a couple more pics from the party...


The boys will officially be three tomorrow. Definitely feeling very sentimental of how far we have come, and proud of how they have grown over the past three years. 


Linked up with...


Todays Creative Blog

Friday, May 27, 2011

{love list}

A few things I've been loving these days...

1. This outfit from Jill...


So simple and classic and I love the pop of turquoise against the white and gray. {doesn't it look super comfy too?!}

2. This...


I think I need to make one of these to go with my earring frame!

 4. This.is.awesome...


I would love to do this with one of the boys' closets. That Thrifty Decor Chick knows her way around a good DIY project!

5. This new {to me} Etsy shop...


SarieJune has some gorgeous flower pins and really cute scarves. And so affordable!

Happy Memorial Day weekend friends! We will have a very fun and full weekend...celebrating the boys' 3rd birthday with a party tomorrow and their actual birthday is on Monday. SO excited {and a feeling a tad sentimental as well.} Full recap with lots of pictures to come! :)

I linked up with...

lollipops

Thursday, May 26, 2011

{a little spot}

So a few days ago I promised some new photos of our family room space. I did a little bit of decorating and organizing in there over the weekend.

The little bit of decorating involves this lovely piece of art...


It was painted by my Granddaddy. He was a very talented painter, as well as a writer. I'd like to think I got a great deal of my creativity from him. He passed away in 2009, but my Grandmother still lives in their house, which is full of his artwork. She was so kind to send this piece to live with us, and I wanted to find a special place for it. Somewhere it could be enjoyed and showcased.


Somewhere like this...


This little spot between our new chair and the TV cabinet seemed to be made for the painting. I love that I can admire it when I'm watching TV or reading a book to the boys.

And in this wider view you can see the organizing project I cooked up in the dresser-turned-TV-cabinet...


Baskets to house all of our Wii accessories and movies! I have had these baskets for years, and their most recent use was in my craft cabinet to hold miscellaneous supplies. When I realized they were the perfect size to fit in the cabinet I was super excited. They add a nice pop of color and are very practical.


And yes...our TV is very off center in this photo. We don't do many things that are balanced around our houses these days. ;)

I still want to line the bottoms of the shelves with a pretty paper or fabric, and find a solution for the mess of ugly cords on the floor...


But yay for progress!

I have another small decorating project up my sleeve for this area, but that will have to wait for another day. :)

Happy Thursday friends!

Wednesday, May 25, 2011

{playing dress up}

So I'm actually doing this for two weeks in a row! :)

I only have two outfits to share, and the first is actually from last week. {but I am wearing the exact same outfit today so let's pretend I took these today, shall we?}


Top: Kohl's
Pants: Target
Sandals: Target
Earrings: Maurices???


My second outfit is made up entirely of clothing items I wore pre-pregnancy. Go me!!! Granted, they fit a tad bit snugger {is that a word?} than they did before I carried 14 pounds of baby in my belly, but I'm still darn proud to be able to get into them!


Top: Dillards
Sweater: JC Penney
Skirt: Sears
Sandals: You guessed, it...Target :)
Earrings: Dillards

Happy Wednesday friends!

I linked up today with WIWW on The Pleated Poppy!

{cuteness to the third power}

I swear every time these boys get a hair cut they get cuter.

And when they turn a year older.

Did I mention they will be THREE on Monday? {sigh}


Monday, May 23, 2011

{gallery with a heart}

In addition to lots of fun family activities, my weekend involved some home decorating! {about time!}

The boys' 3rd birthday party is quickly approaching, so that was a good motivator for me to finally put together a gallery wall of sorts that I've been crafting in my head for awhile now. A few recent purchases gave me just the right combination of pieces to make it happen.

Here is the dining room wall a few months ago, when we still had our IKEA shelf with the boys' toys in there {and the room was still our family room}...


And here it is now!


I love that most of this wall was created with items I already had, and the few I recently purchased were very affordable. {the most expensive, the chalkboard frame, was $6.}


I simply turned the vintage drying rack sideways to give it a whole new look. Most of the items on it are pictures of the boys, but one very sentimental piece is a copy of a drawing done by my Granddaddy. 

The bird canvas top center is from Urban Outfitters, and was originally in the boys' nursery. Chalkboard frame from Big Lots, right now houses a pic of the boys playing their guitars. A simple "Rock." was all the description it needed. I can see this frame having lots of different looks in the future. The polaroid frame {just like the ones over our desk} and metal clip are both Hobby Lobby clearance finds. The cute wooden owl postcard in the clip was a gift from a friend. 
I filled the polaroid frame with some pretty scrapbook paper, a chipboard "f" and a button. Super simple. {and yes, our walls in there desperately need some paint.}

On our Craigslist find record player cabinet, I have my Grandma's vintage makeup case, painted milkglass lamp, milkglass apple dish, and this adorable {and free!} print...

The framed print also doubles as a nice concealer for our poorly placed heating control...


But what I love most of all is the sentiment.

So what do you think? For a whopping $10, give or take a few cents, I put together a fun and very personalized gallery wall in our dining room. One of my favorite parts is how easy it will be to change out the photos and items to keep it fresh and exciting.


I also did a little sprucing up to our family room, which involves another piece of sentimental family art. Will post about that very soon!

Linked up with...
 
Today's Creative Blog   
 
C.R.A.F.T. 

Tip 
Junkie handmade projects

LinkWithin

Related Posts Plugin for WordPress, Blogger...